

OEM Abrasive Solutions for Consistent Surface Finishing and Grinding
2026-09-25
What if every grinding pass could deliver the exact same finish—no surprises, no rework? That's the promise of a well-matched OEM abrasive solution, but many manufacturers still struggle with inconsistent results. At SHENZHEN SUN ABRASIVES, we've spent years refining custom abrasive formulations for surface finishing and grinding, helping clients eliminate variability and boost throughput. Here's what you need to know about choosing the right OEM partner for your abrasive needs.
Where Off-the-Shelf Abrasives Start to Drift on Tight Tolerances
Tight tolerances expose the hidden variability in commodity abrasives faster than any other part of the process. A stock wheel or belt may claim a certain grit size, but the actual particle distribution is usually broad enough that only a fraction of the grains are doing the intended work. The rest either rub or gouge, so the cutting action shifts subtly from one part to the next. That inconsistency shows up as dimensional drift, uneven surface finish, or a scrapped batch after several hours of stable machining.
Bond formulation is another area where general-purpose products fall short. Resin and vitrified bonds in off-the-shelf abrasives are tuned for a wide range of materials and speeds, not for the heat buildup common in fine, slow-feed grinding. When the bond softens too quickly, grains round over or release early; when it stays too hard, the wheel loads and burns the workpiece. Either condition changes the effective cutting geometry mid-run, producing taper, out-of-roundness, or chatter that no amount of compensation can fully eliminate.
Even the physical uniformity of the abrasive body matters once tolerances drop below a few microns. Slight density shifts, thickness variation, or runout in a mass-produced wheel become magnified at high spindle speeds and shallow depths of cut. What would be a minor nuisance in rough grinding turns into a direct source of part error. At that point, the abrasive is no longer a fixed input but a process variable, and controlling it means specifying grain shape, bond type, and balance with the same care as the machine tool itself.
Designing Grain Blends Around Your Actual Ra Targets
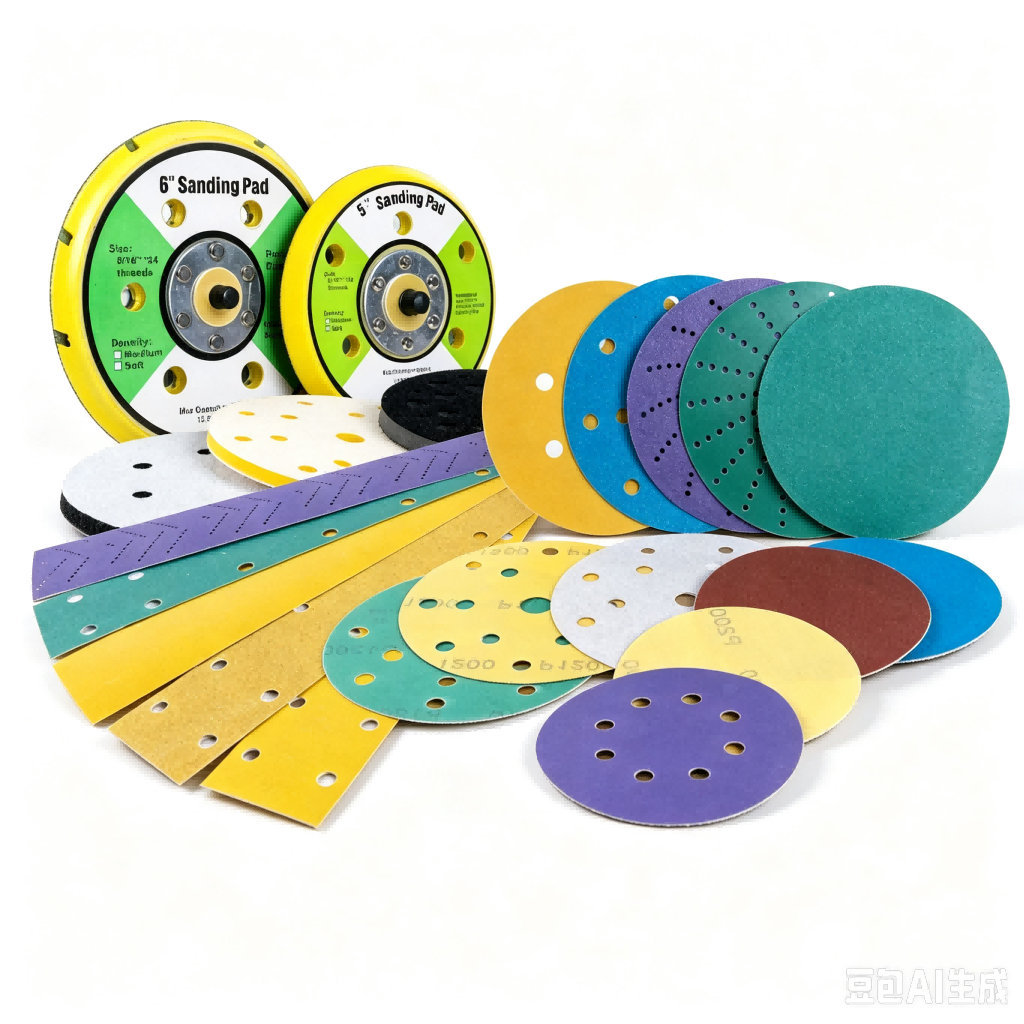
Designing grain blends around your actual Ra targets means starting with the numbers your surface inspection already gives you, not the numbers a supplier sheet promises. The same blend can land on a 32 Ra finish or a 50 Ra finish depending on how deep the incoming tool marks are, how worn your media is, and how long you let the cycle run. If you ignore the real measured Ra and chase a nominal grain size, you'll often overwork soft areas or leave hard spots untouched.
A better move is to map out the Ra range you can actually hold on your current equipment, then adjust the ratio of coarse to fine grains until the finish stops drifting outside that band. Coarser grains cut down peaks faster but leave deeper valleys; finer grains polish the peaks but can't erase deep scratches. Blending isn't about hitting an average—it's about creating a cutting action that matches the specific height variation you're measuring.
Once the blend is close, run short batches and pull parts at intervals to see where the Ra value settles. If the finish improves too slowly, add a slightly more aggressive grain or reduce the fine fraction. If you're blowing past the target and dulling the surface, back off the coarse share. The final blend should be written down as a range tied to your actual Ra data, not a fixed recipe, because incoming parts and media wear will shift that target over time.
Keeping Surface Finish Steady From First Shift to Third
On many production floors, the surface finish of machined or coated parts tends to drift as the day wears on. What the first shift achieves with fresh tools and cool coolant might not match what the third shift produces after hours of accumulated heat, tool wear, and operator fatigue. Keeping that finish steady across all three shifts starts with recognizing that each shift inherits a slightly different set of conditions, and pretending otherwise is where inconsistency begins.
One practical approach is to standardize the small details that often get overlooked. Write down the exact spindle speed, feed rate, and depth of cut for each finishing pass, then verify them at shift change instead of trusting memory. Check coolant concentration and temperature at the same intervals, since a two percent drift in concentration can change chip evacuation and surface burnishing. Also rotate finishing inserts or swap to a fresh edge at a fixed part count rather than waiting for visual roughness to appear—by then the finish has already shifted.
Finally, make surface roughness measurements part of the handoff routine, not an afterthought. A quick profilometer check on the first part of each shift, compared to a reference coupon from the previous shift, gives operators a concrete baseline. When the numbers stay within a tight band, the finish stays steady. When they start to creep, the crew knows to adjust coolant flow or tool offset before a whole batch drifts out of spec. That kind of feedback loop, repeated shift after shift, is what keeps the surface looking the same at 6 a.m. as it does at 11 p.m.
Why Grinding Pressure Matters More Than the Abrasive Brand
Walk into any workshop and you'll hear endless debates about which abrasive brand cuts fastest or lasts longest. But here's the uncomfortable truth: even the most expensive disc will disappoint if you're leaning on the grinder like it owes you money. Pressure, not product loyalty, is the variable that actually determines how much metal you remove per pass, how evenly the surface wears, and whether you're fighting vibration or gliding through the job.
Think of an abrasive as a cutting tool with hundreds of tiny edges. Push too hard and those edges dig in, fracture prematurely, and clog the spaces meant to carry away swarf. The result is heat, glazing, and a disc that feels dull after two minutes. Back off too much and the abrasive skates over the surface, polishing instead of cutting. The sweet spot is a controlled, steady pressure that lets the grit do the work without forcing it beyond its design limits. That feel is learned through repetition, not through swapping brands.
What this means in practice: test your pressure before blaming the abrasive. Use a lighter touch for coarse grits and brittle grains like ceramic, slightly firmer for tough zirconia. Watch the spark pattern and listen to the motor pitch. A consistent, medium pressure with proper angle will often outperform a premium brand used carelessly. And once you've dialed in your technique, you'll find that mid-range abrasives suddenly cut like the expensive ones. The grinder doesn't know the label—it only knows how hard you're pressing.
Abrasive Backing Choices That Prevent Edge Rounding on Small Parts
On small parts, edge rounding usually comes from the backing deforming under pressure. A stiff polyester film backing, typically 3 mil or thicker, keeps the abrasive flat against the surface and stops the grain from wrapping around corners. This is especially useful when hand sanding tiny brass or aluminum components where a soft paper backing would quickly wipe the edges.
Film backings also have uniform thickness, so the abrasive height stays consistent. That means less bounce and fewer accidental passes over the edge. For parts under an inch, pairing a film backing with a hard sanding block or flat lap gives the best control. Cloth and flexible paper backings, by contrast, tend to follow the contour and remove more material at the rim.
If you need some flexibility but still want edge protection, a film-and-foam combination can work. The foam absorbs finger pressure unevenness while the film layer resists bending at the part boundary. Test different backing stiffness on scrap pieces first—small parts show edge rounding fast, so a backing that feels only slightly firmer can make a visible difference.
The Hidden Cost of Inconsistent Finish Before Plating or Paint
Surface prep is often treated as a quick step, something you rush through to get to the real process of plating or painting. But when the finish underneath varies even slightly—one area smoother, another with faint scratches or oxidation—the coating doesn't just sit on top. It amplifies those differences. Plating may build unevenly, paint may lose adhesion in spots, and what looked like a minor inconsistency turns into a visible defect weeks later, long after the part has left your floor.
The real cost isn't just the rework tank or the paint booth time. It's the parts that slip through inspection, the customer returns, the line stoppages while someone tries to figure out why batch after batch is failing. Every time you skip a proper pre-finish check because it looked fine, you're gambling with hours of downstream labor and material. Inconsistent finish before plating or paint doesn't just hide—it compounds, eating into margins quietly.
FAQ
It usually means a supplier works directly with a manufacturer to design abrasive products—like belts, discs, or wheels—tailored to the exact material, machine, and finish spec. Rather than forcing a stock product to fit, the abrasive is built around the process.
Consistency comes from matching the abrasive grain, bond, and backing to the job. When those variables line up with your workpiece and pressure settings, you get predictable cut rates and repeatable Ra values run after run.
You'll see them in metal fabrication, aerospace, automotive, medical device manufacturing, and woodworking. Any sector where tight tolerances and visual finish quality matter tends to move away from one-size-fits-all abrasives.
Grain choice drives cutting speed, heat generation, and finish level. For example, ceramic alumina stays sharp longer on tough alloys, while silicon carbide suits non-ferrous metals and brittle materials. A tailored grain avoids overgrinding or burn marks.
Look for someone who asks about your current failure points—edge rounding, loading, chatter—not just your grit size. A good partner runs trials, measures output, and adjusts bond hardness and backing weight until the process stabilizes.
Many assume custom means high minimums, but that's not always true. Smaller shops can often start with a modified stock product or limited batch sizes. The key benefit is reducing rework and scrap, which often outweighs the per-unit abrasive cost.
Track surface roughness, stock removal rate, and consumable life over a set number of parts. If the numbers stay within your tolerance band without frequent dressing or belt changes, the solution is doing its job.
The bond controls how the abrasive sheds dull grains and exposes fresh cutting edges. Too hard and the wheel glazes; too soft and it wears out quickly. Matching bond to feed speed and material hardness is what keeps output uniform.
Conclusion
Most off-the-shelf abrasives begin to drift once you ask them to hold a tight tolerance, and that drift shows up as uneven Ra values across a batch. An OEM approach starts with grain blends dialed in for your actual surface roughness targets rather than a generic grit number. This means the abrasive cut stays predictable enough that the finish doesn't wander between morning and night shifts. It is not about buying a premium brand; it is about matching grain shape, size distribution, and bond hardness to the specific material and stock removal you need. When that match is right, operators stop chasing settings and start seeing repeatable readings part after part.
Grinding pressure often gets overlooked, yet it usually affects the final finish more than the abrasive label itself. Too much pressure pushes the grain deeper and leaves a rougher or burned surface, while too little just glazes the abrasive. OEM backing choices also matter, especially on small parts where a softer backing can roll over edges and round them before you even check the dimension. A custom backing stiffness keeps the abrasive cutting on the flats without washing out corners. The real hidden cost shows up later: an inconsistent finish before plating or paint creates adhesion problems, visible defects, and rework that eats into margins. Tailored abrasive solutions fix those variables upstream instead of trying to polish out the damage downstream.
Contact Us
Contact Person: Amanda Wang
Email: [email protected]
Tel/WhatsApp: +86-13602569854
Website: https://www.sunabrasives.com.cn